
Office365にサインインする際、メールアドレスおよびパスワードを入力してサインインします。
管理者がアカウントの多要素認証を有効にしている場合であれば、
その後に、もう一つ認証方法を利用して2つ目の認証を通過させる方法をとることができます。
※Microsoft では、Authenticatorなどの最新の認証方法を使用することを推奨しています。
認証変更画面へのアクセス方法
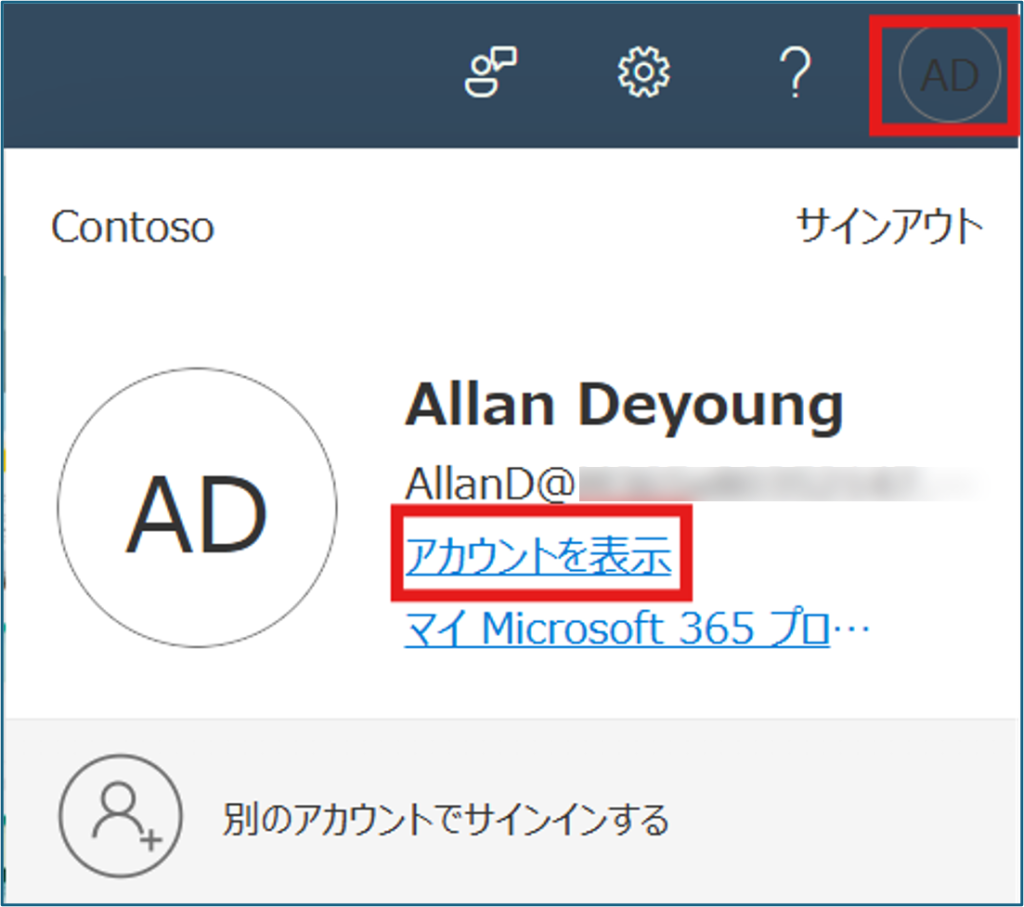
1.自分のアイコン→「アカウントを表示」の順にクリックします。
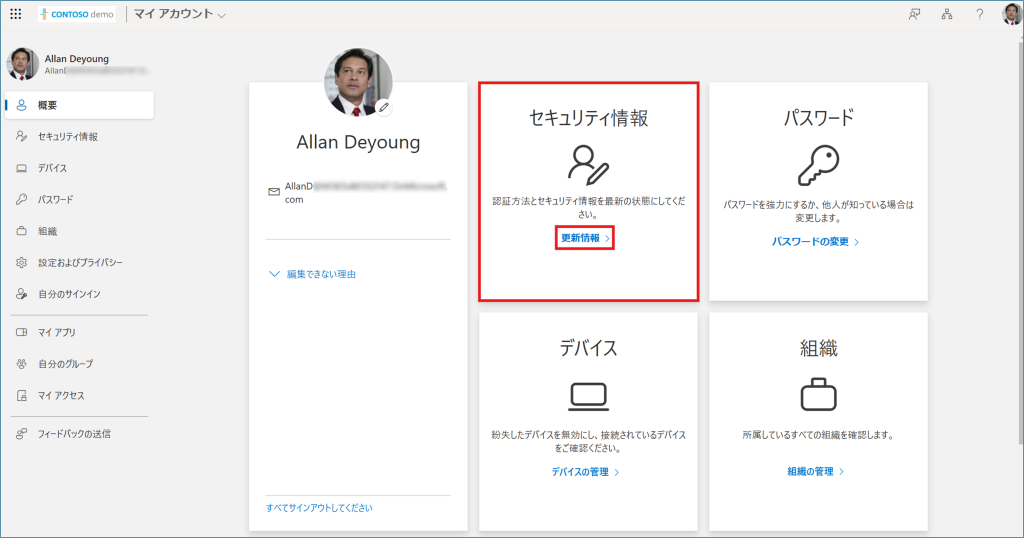
2.セキュリティ情報内の「更新情報」をクリックします。
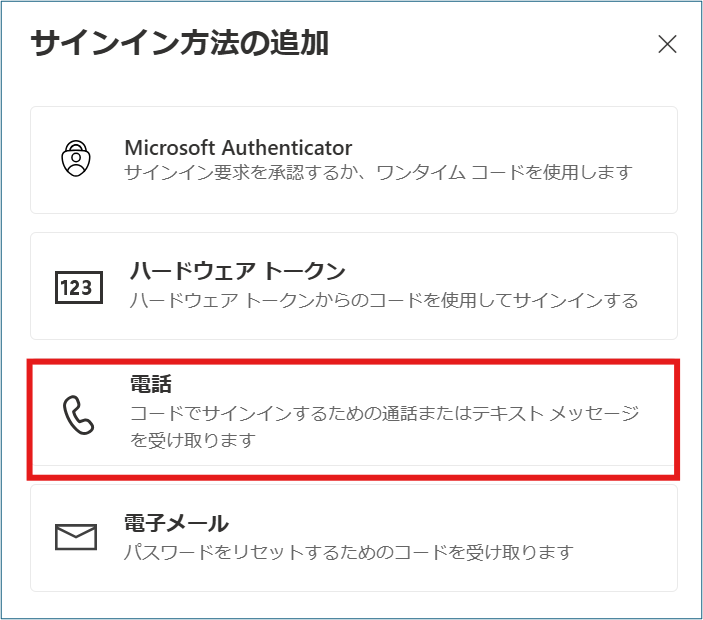
3.「サインイン方法の追加」より認証方法を追加いただけます。
3-1024x466.png)
また、既に登録されている認証方法がある場合、「変更」・「削除」することも可能です。
変更・・・登録した電話番号や認証方法などを変更できます。
削除・・・設定した認証方法を削除します。再設定するには「サインイン方法の追加」から行います。
11-656030983f54c-1024x436.png)
認証方法の種類・設定手順
2つ目の認証は、「認証用電話にコードを送信する」・「アプリケーションで通知する」・「アプリの確認コードまたはトークンを使用します」の3つより選択できます。
この設定の中の主な2つの手順をご紹介します。
認証用電話にコードを送信する(認証用電話へテキストメッセージを送信する)
1.「+サインイン方法の追加」をクリックした後、電話をクリックします。
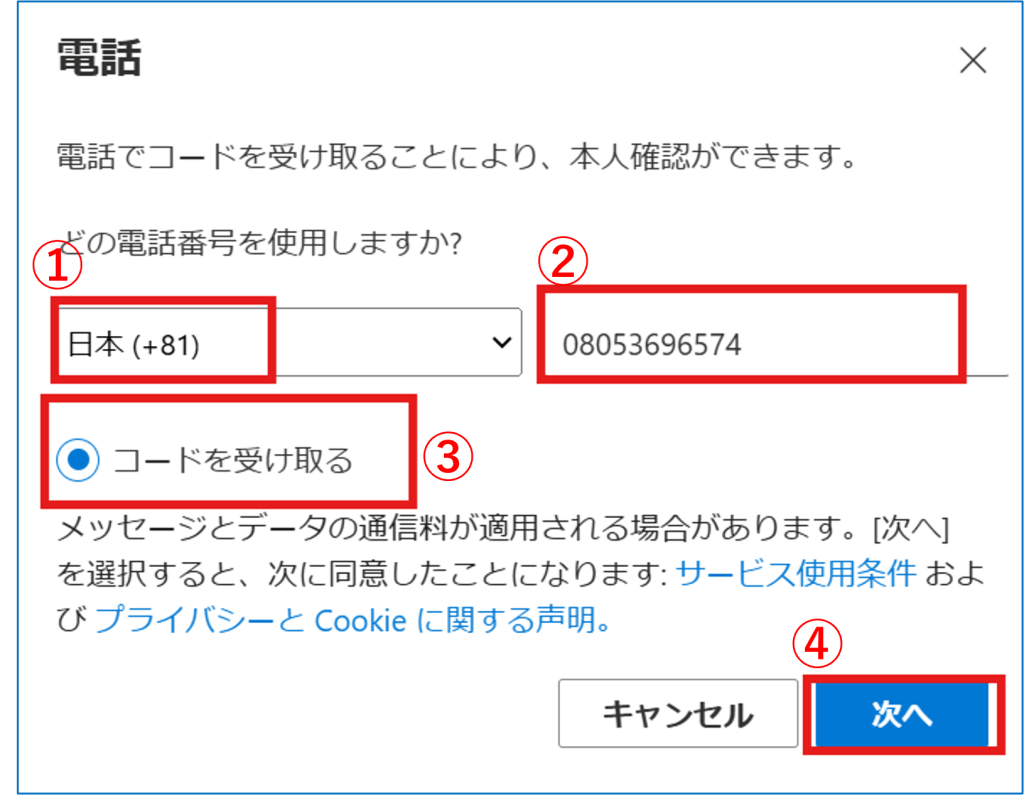
2.「電話」ウィンドウで電話番号を登録します。
①「日本 (+81)」を選択
②登録したい電話番号を入力
③「コードを受け取る」を選択
④「次へ」をクリック
3.携帯電話のショートメールに確認コードが通知され、「(電話番号)に6桁のコードをお送りしました」と表示されますので、コードを入力し「次へ」を選択します。
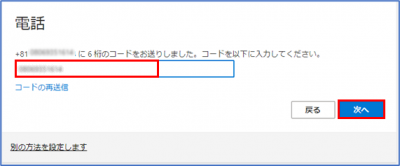
4.認証に成功すると、画面に「SMSが検証されました。お使いの電話が正常に登録されました。」と表示されます。「完了」を選択してウィンドウを閉じてください。

☆設定すると、下記手順を踏んでログインすることになります。
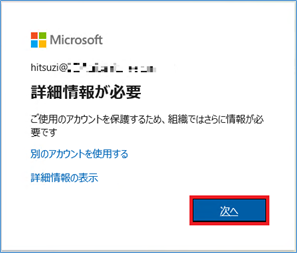
① IDとパスワードを入力後、下記画面が表示されます。「次へ」をクリックします。
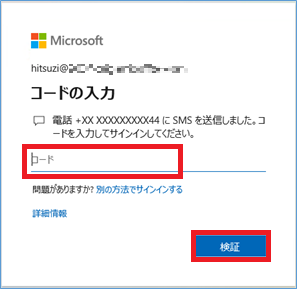
② 下記画面が表示され、指定した電話番号にテキストメッセージでコードが送信されます。
そのコードを入力し、「検証」をクリックします。認証が成功すれば、ログインができます。
アプリケーションで通知する(モバイルアプリを利用する)
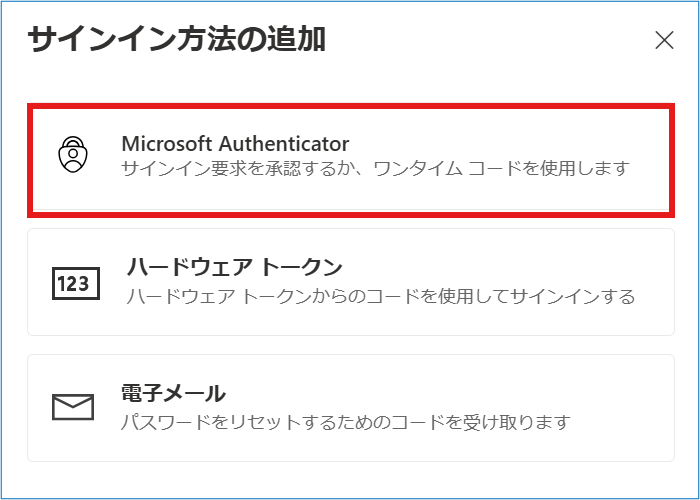
1.「+サインイン方法の追加」をクリックした後、「Microsoft Authenticator」をクリックします。
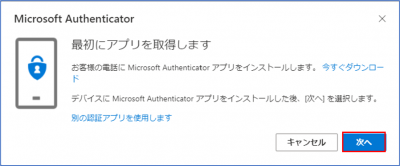
2.「最初にアプリを取得します」の表示がされますので、お使いのモバイルデバイスにMicrosoft Authenticator アプリをインストールします。
既にインストールされている方はそのまま「次へ」を選択します。
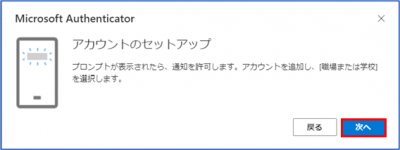
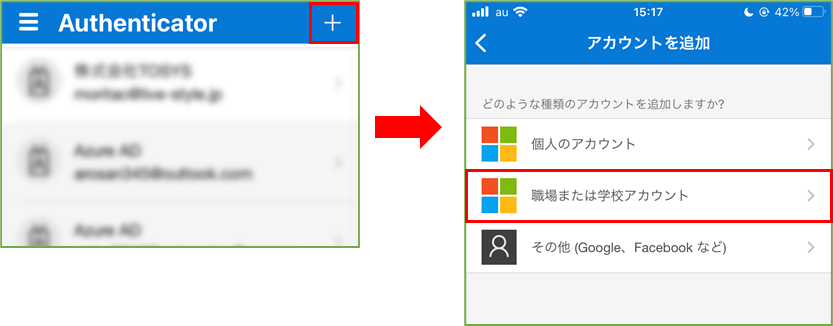
3.「アカウントのセットアップ」の画面が表示されますので、お使いのモバイルデバイスでAuthenticator アプリを立ち上げ、画面右上の「+」マーク→「職場または学校アカウント」の順にタップします。
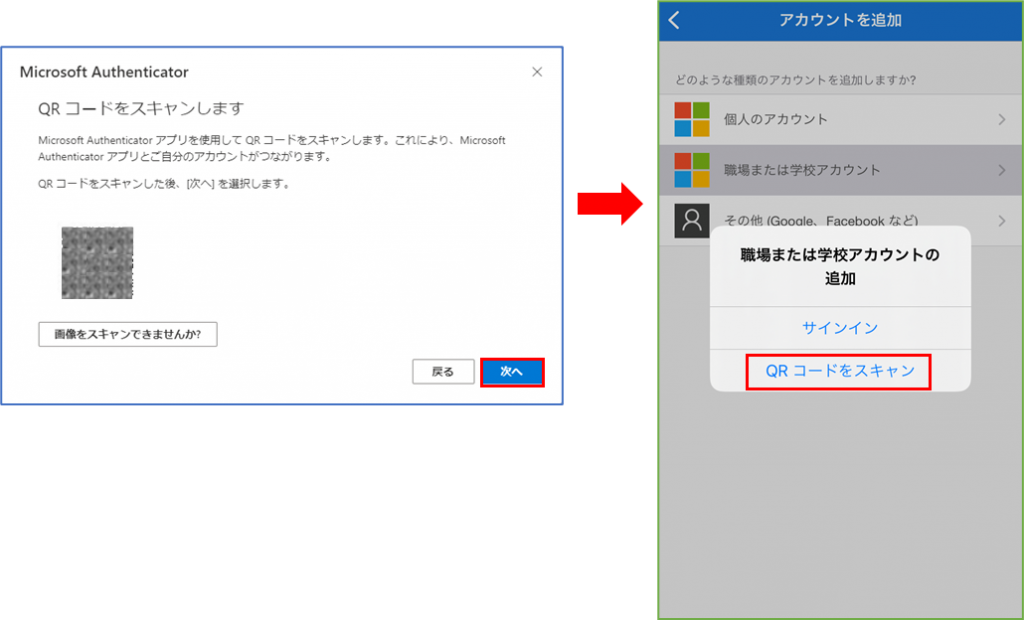
4.認証の追加設定画面に「QRコードをスキャンします」と表示されますので、Authenticator アプリで「QRコードをスキャン」を選択し、 認証の追加設定画面のQRコードを読込ます。
5.認証の追加設定画面に「試してみましょう」の表示がされた後、 Authenticator アプリに表示されている会社名と自分のIDに間違いが無いか確認し、画面に表示されている番号を入力し、「はい」をタップします。
8-656029c40aa37-1024x480.png)
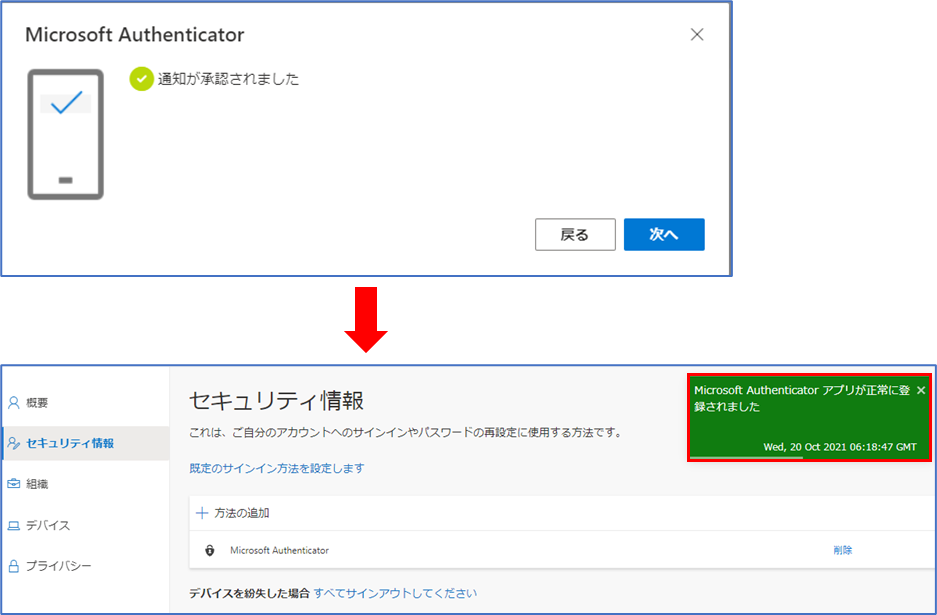
6.認証の追加設定画面に「通知が承認されました」と表示されれば認証成功です。「次へ」を選択するとホーム画面に戻り、画面右上に「Microsoft Authenticator アプリが正常に登録されました」と表示されます。
☆設定すると、下記手順を踏んでログインすることになります。
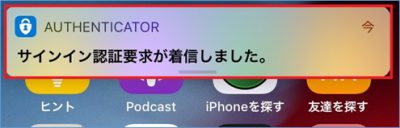
① IDとパスワードを入力後、下記画面が表示されます。
② モバイル端末に通知がされます。『Authenticator』を開き、 画面に表示されている番号を入力し、「はい」をタップします。 認証が成功すれば、サインインできます。
10-908x1024.png)